Running a test
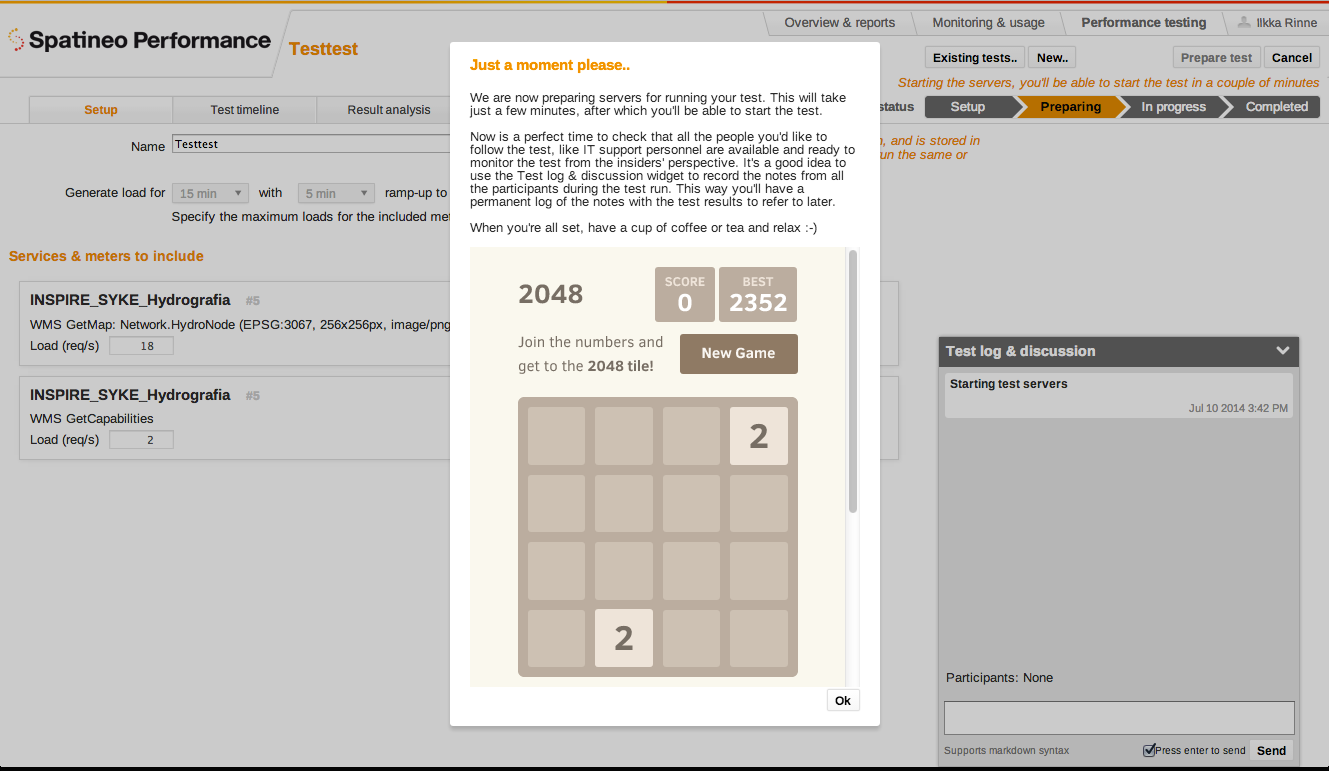
When all the test parameters have been configured you are ready to begin the test run. Press the “Prepare test” button at the top right corner of the test view to start the test initialisation. Preparing the test servers for each test will take about 3 to 5 minutes. During this time new server machines are allocated, started and configured with the pre-calculated test plans. When the initialisation is complete you can start the test run.
Test left idle will be cancelled
Please start the test within 15 minutes from completing the initialisation, as idle test servers are automatically shut down after that.
Test Initialisation
While the test is initialising it’s a good time for making sure that all the right people are ready to monitor the functionality of tested servers and backend systems. You can invite participants within your own organisation to follow the test run by sending them the URL address of the Spatineo Performance application while viewing the test.
A good way to ensure all the requested people are following the test is to have a roll call using the “Test log & discussion” feature: When a participant sends their first log message, their names will be added to the test participant list. All participants must be able to login to Spatineo Performance under your organisation. If you need more user accounts for your organisation please contact our support.

You can brush your game skills while waiting for the test initialisation to finish.
Following Test Progress
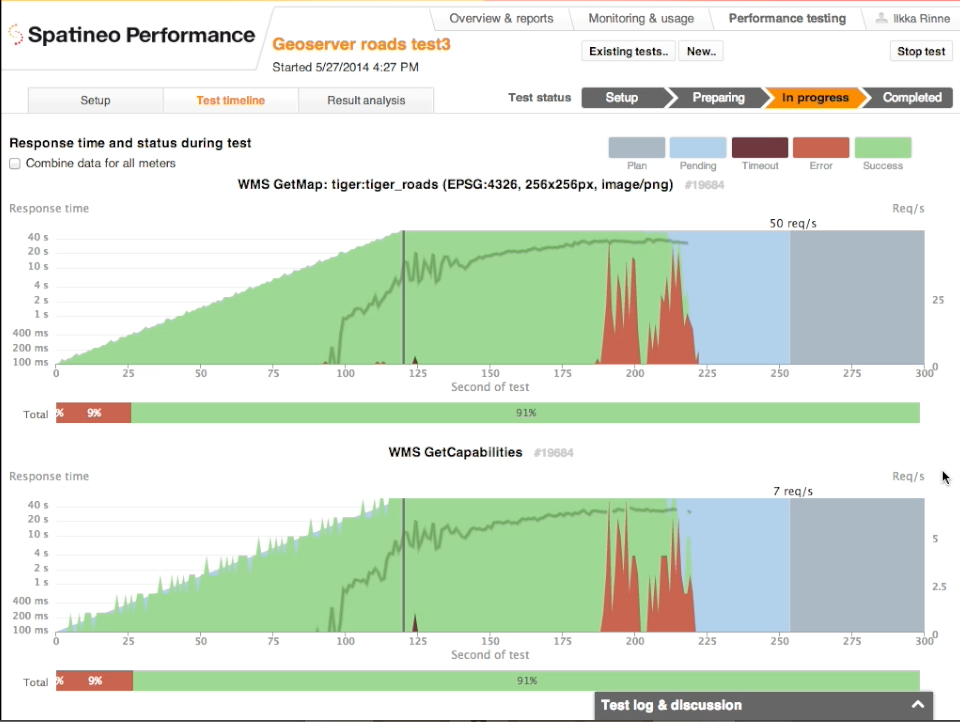
The test progress can be followed on the Test timeline tab. You can choose to view the progress graph of each of the meters separately or use a view with the statistics of all the meters combined by checking the “Combine data for all meters” checkbox.

Test timeline view during a test run showing the two included meters separately.
The graphs show the current request rates, amounts of successful and failed requests
and measured response times. The requests for the bluish parts of the graph have not
yet completed
It’s a good idea to gather all kinds of technical data from the different system components during the test runs. Each test participant can follow the test progress from their perspective by using their own tools for monitoring within the technical infrastructure. The remarks made by each of the participants during the test are recorded in the shared test log. The log is archived with the test timeline and the results for later review.
You can stop the test at any time by pressing the “Stop test” button at the top right corner of the view. Stopping the test before it reaches end makes sense if the selected load is obviously too low or too for the service, or if there are some other obvious problems detected during the test. The quickest way to re-run a test with slightly modified settings is to use the “Re-run test” button on the Setup tab.
Updated less than a minute ago
